
Split step in Badminton: An in-depth guide
Hello and welcome to Playbestbadminton.com. If you’re new here, the website is run by highly professional badminton players, releasing new articles every week. Now, we’re always being asked by people how I can quickly improve my game or where I am most going wrong, and almost every time, the answer is footwork. So today’s post is the first in a two-part series on footwork, and in this post, part one, we’re going to teach you the split step, a really important area of the game that’s often misunderstood or people completely get wrong.
So, let’s get to it. So, what is a split step, and how do you do it?
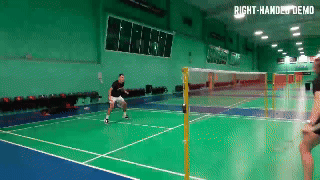
Well, this is widely debated and so often taught wrong by coaches and in coaching manuals. Many people call it a preparation jump, but it’s not a jump. It’s an explosive movement that allows you to swiftly adjust your path and rapidly move in response to where your opponent strikes.
It’s really important to note that it’s an anticipation movement performed just before your opponent hits the shot to prepare yourself to move in the direction you think the shuttle is going so that by the time you comprehend where the shuttle is heading, you’ve already initiated the movement to get there.
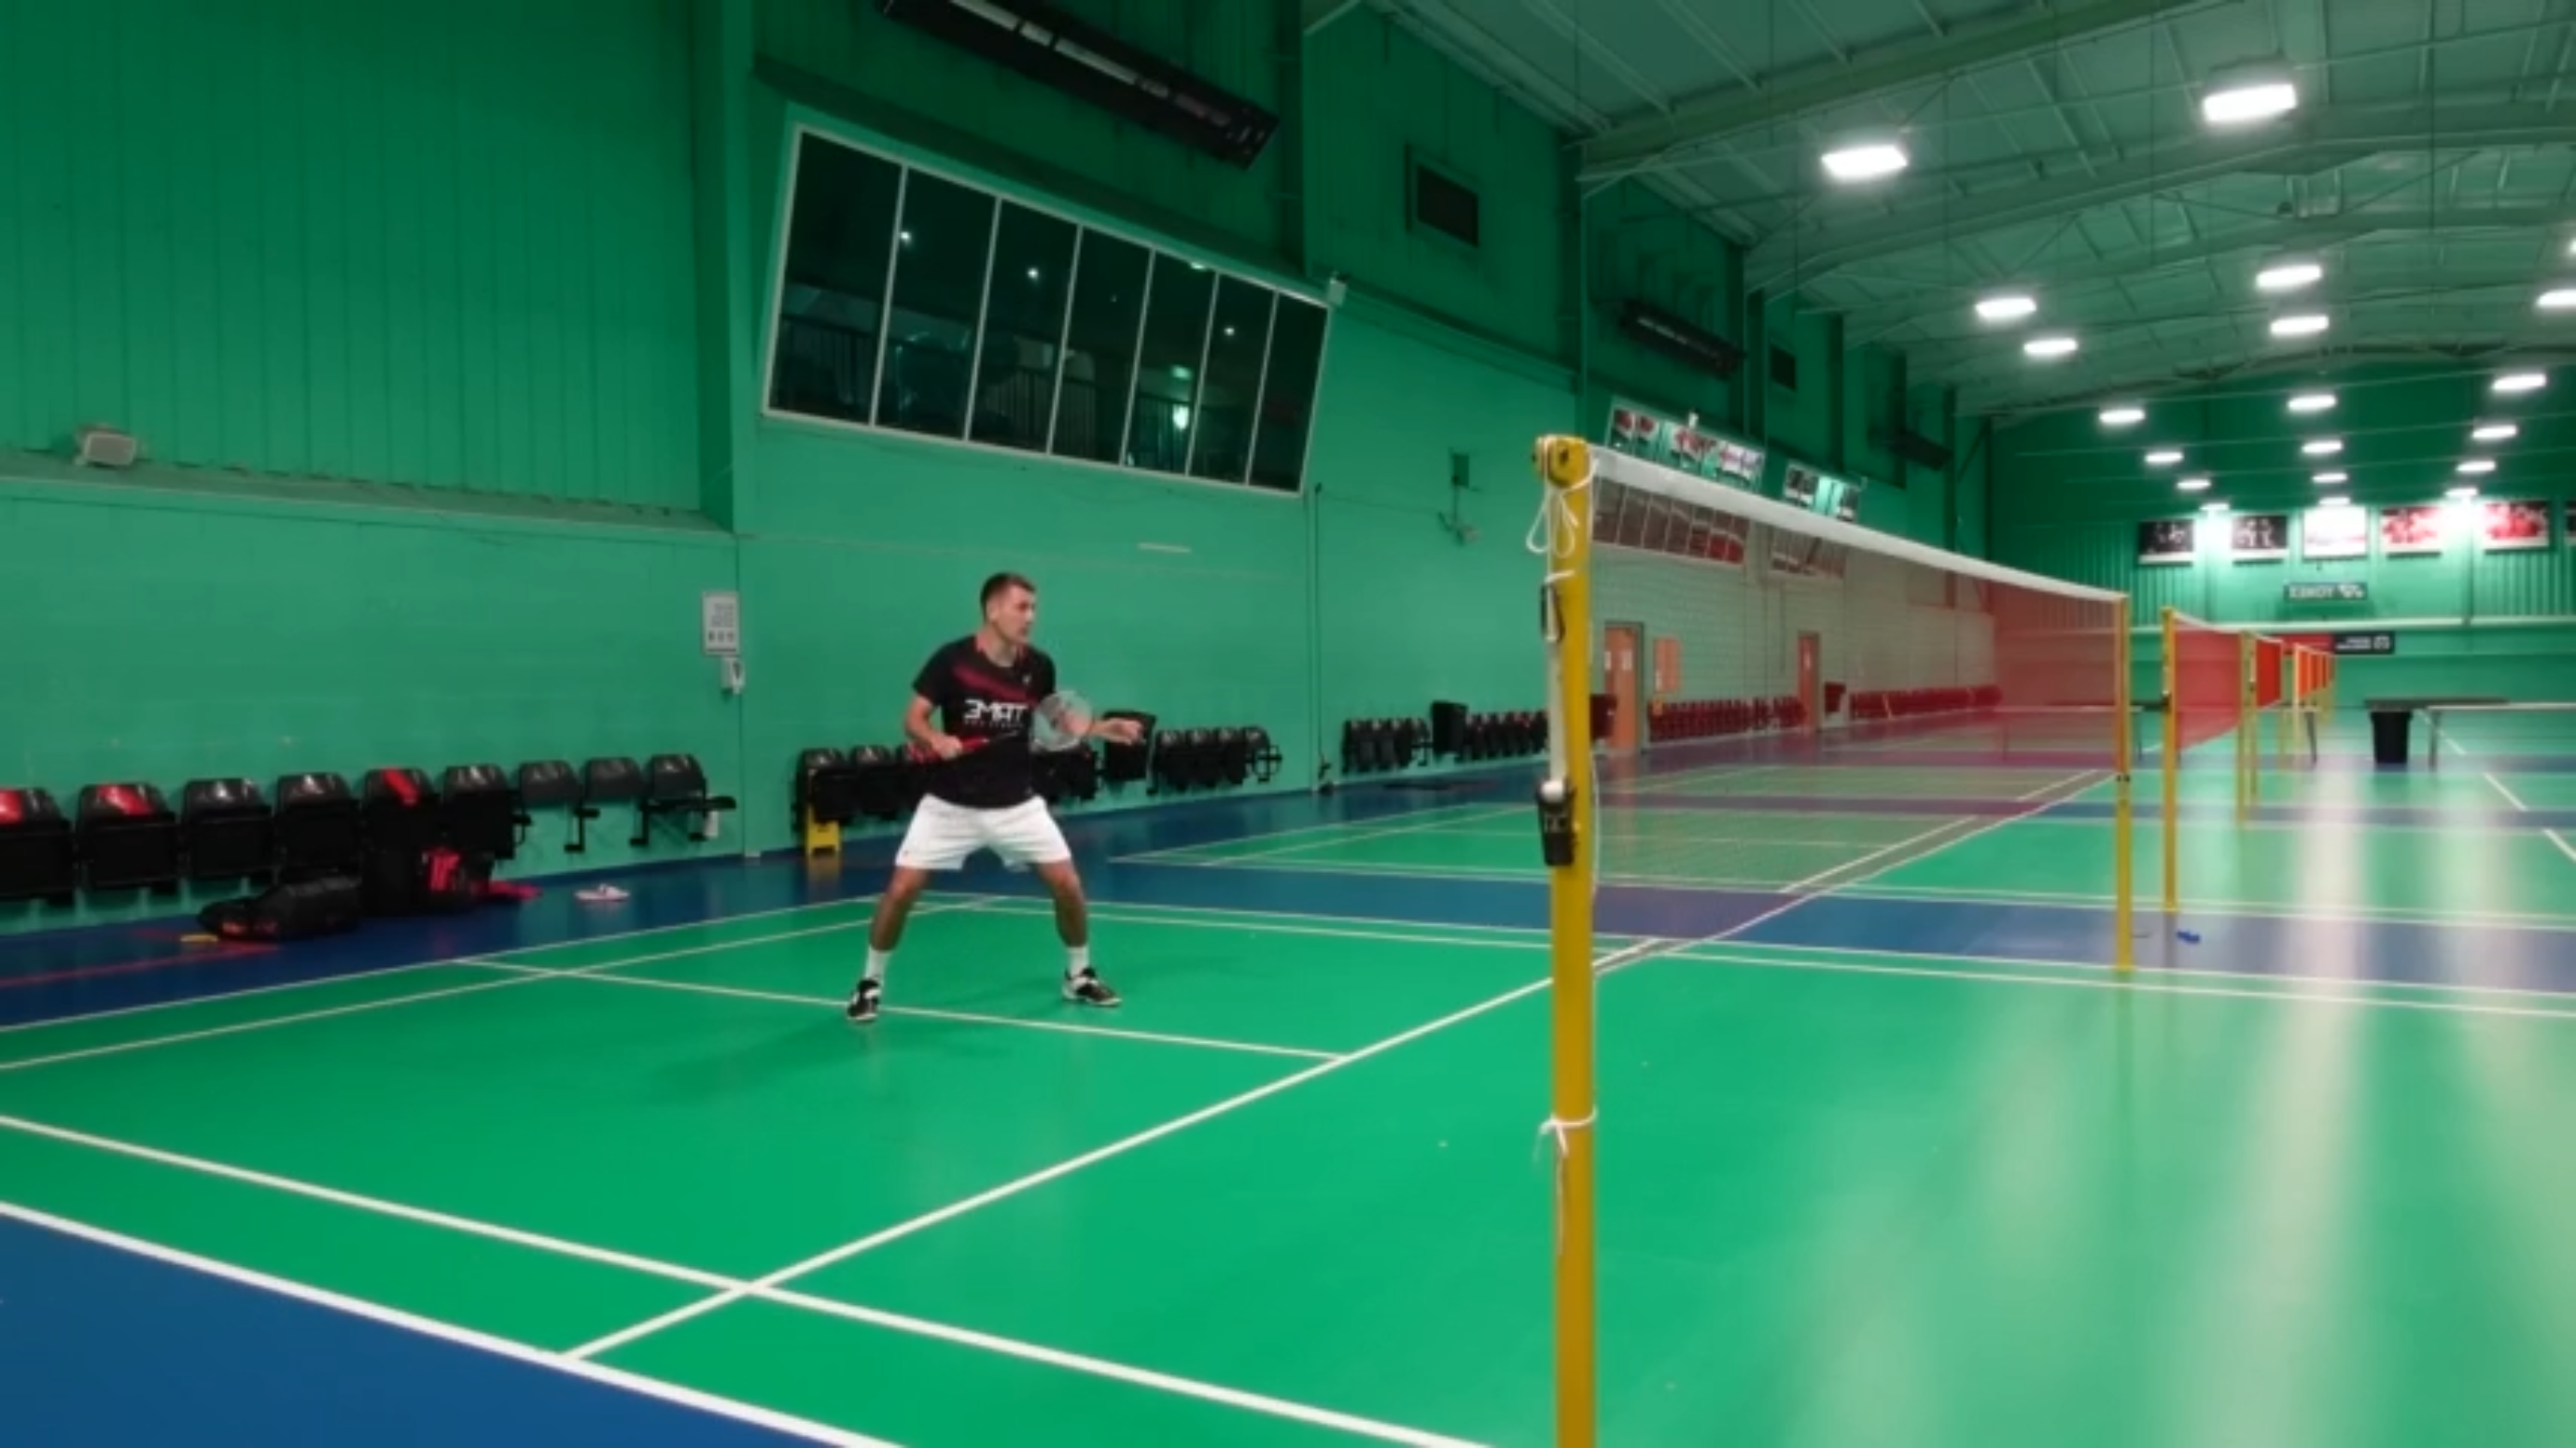
So, you want to begin with your feet positioned slightly wider than shoulder-width apart, and you then perform a quick drop like this, gently broadening your legs as you land from this movement. Also, you want to keep your knees bent and your legs loaded and use this energy to spring back and push off in any direction to get the benefit of the split step. Keeping your legs bent also lowers your center of gravity, which significantly improves your control as well as the speed of your movement.
A common mistake we see is people trying to do this split step with their legs too straight. This hinders your even basic movement; let alone explosive movement I could do with my legs straight. And we’ll get onto some more common mistakes in just a moment. Your body weight should also be leaning forward onto the balls of your feet, not on your heels.
And this is so you’re quick to push off. One way of practicing this is to drop off a bench and go to one corner like this.
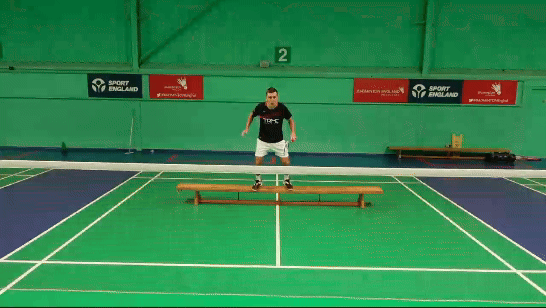
This helps your speed and quick response time off the floor. You can also do it on the backhand side and by dropping off the bench backwards to move into the rear court corners. This helps you understand the point of the movement and that it’s not a jump or step like names can suggest.
Remember to make sure you’re properly warmed up before doing this and take it slowly to begin with. And if you’re not sure on the footwork after the split step, don’t worry, that’s what our next tutorial is on. This exercise, as well as practicing the split step in isolation, is mainly just for beginners or young players focusing on learning the movement. After a certain point, you want to get to a stage where you just do this split step without even thinking about it. It’s should be ingrained into your game, like changing grips quickly is. So in reality, you should be practicing this split step every time you’re on court, as you do it before every single shot you play.
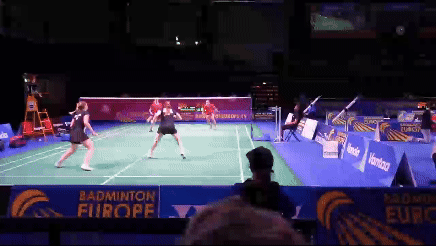
For example, in this rally, the player does a split step movement of some sort before every shot, even though it will look slightly different every time. And she’s definitely not thinking about doing it every time. It’s ingrained into her movement through lots of practice over the years.
Once you practice the split step in isolation, you can add in a shuttle to start learning how important these micro adjustments are. Here, I’m going to hand feed Jenny to either side. Now, watch her split step just before she thinks I’m going to throw it below.
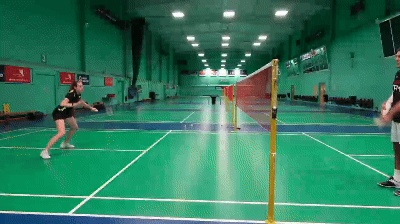
And to make her continually adjust I can throw it like this.
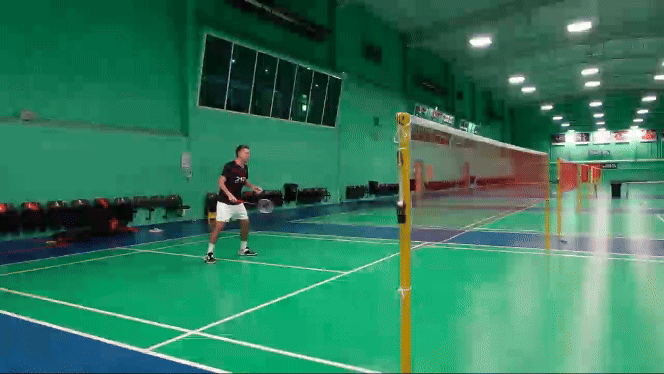
Now getting slightly more advanced you don’t actually always want to split step with your feet just side by side. You’ll often see the more advanced players doing directional split steps and this is to increase their speed into the corners of where they think the shuttle is going.
Splitting your feet in a direction (either racket foot or non-racket foot in front), decides which manner you think.

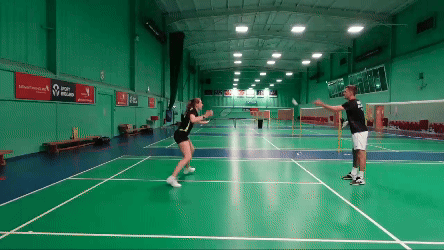
An exercise you can do to practice this directional split step is to throw a shuttle down to a player. They block it to the net and you play a net shot off this shot. You can repeat this to get used to the movement.

Then the next time, the feeder can lift this block to your forehand corner and you alter your directional split step so that your racket leg is now further back. And then after this, you can feed it randomly like this.
This is so they have to choose which directional split step to do. Also, look at how the feet don’t come together during movement.
And finally, notice how Greg does the split-step movement just before the shot is hit.

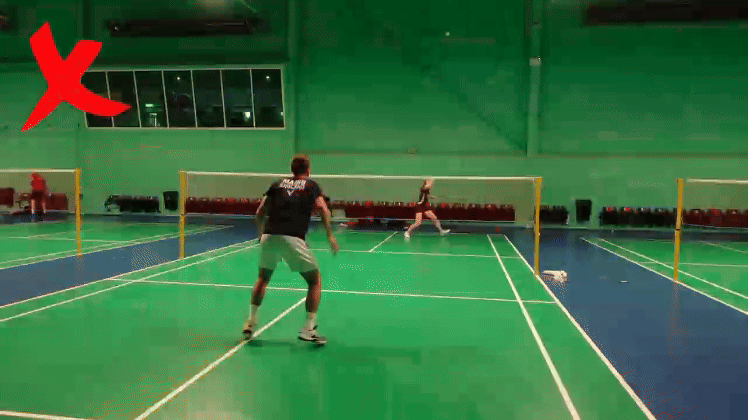
This leads us to some key errors people make with a split step.
Firstly, they often think that they have to do it and move back to the base at all costs, no matter how late they are. No, this is a complete waste of time, and it really infuriates me.
As we’ve said, it’s an anticipation movement done before the shot to prepare yourself to where you think the shuttle is going. And this will be dependent on how well you read the game and also your opponents.
For example, if you notice that your opponent always lifts cross from their forehand corner, then you might split this way after playing a shot to the net (refer the picture):
And not this way, which you would usually do.

Splitting this way, as shown below, will mean that you can get back to the shuttle quicker and also play a better shot.

As opposed to:
However, if the opponent notice that you’re splitting this way:

And the opponent keeps playing net shots then you would change your split to be ready for it as shown below.

Now, usually in this situation, you play this split to look for this net shot, especially if you’ve played a tight net and they’re playing the shuttle from below tape, as this is the shortest distance for the shuttle to travel. And if they do lift, then you’ve got enough time to get back and play an attacking shot. But that’s probably for another article. Also, note that there might be times when you don’t do a really apparent split step.
For instance, if you’ve hit a good attacking shot from the rear court, you might do a running split step into the net to follow up your shot.

Now, if you perform this split step too early, you will need to wait to see where the shuttle is heading before you can move. And by this time, you will have lost the energy and momentum generated from the split step.
The ideal timing is to start your split step just before your opponent’s about to hit it so that you’re ready to push off in any direction as soon as they do hit the shuttle.
Another common mistake we see is people really trying to jump in their split step. This is incredibly inefficient and massively slows your movement down. Plus, if you’re mid-air when your opponent hits the shuttle, then you have to come back to the ground and then push off, by which time the shuttle’s probably already gone past you or landed in front of you.
And yes, some players will jump a little bit, and others maybe not as much, but it’s all about this drop and then moving from the force this drop has created, and of course, make sure you do it at the right time.
And lastly, where we also see a lot of people go wrong is having their stance too narrow or too broad. And this significantly hampers your efficiency as you navigate the court in any direction. This is also heavily linked with what you do after the split step, which we’re going to cover in our next tutorial on the basic full corner footwork.